Image Compression Tools: 7 Best Options Compared
Image compression tools are the fastest way to stop a page from crawling under the weight of oversized photos, and this guide compares seven of the most useful options side by side. If your site feels sluggish or your uploads keep failing, the fix is usually sitting in a settings panel you never noticed.
What follows is a practical comparison built for people who care about load speed, bandwidth bills, and keeping images sharp enough that nobody squints.
Here’s the honest truth: most sites don’t have a traffic problem. Focusing on image compression tools provides clear direction here. They have a file-size problem. According to HTTP Archive data, images make up roughly half of the total page weight of an average web page.
That’s a massive chunk of your performance budget spent on pictures, and image compression tools tips is what the reader checks first. The right set of image compression tools can cut that number dramatically without visually wrecking your work.
This comparison isn’t a vague popularity ranking. Each of the seven picks earned its spot on measurable criteria: compression ratio, output quality, workflow fit, format support, and how much friction it adds to daily publishing. Grab a coffee, and let’s walk through them.
What Image Compression Tools Actually Do (And Why It Matters)
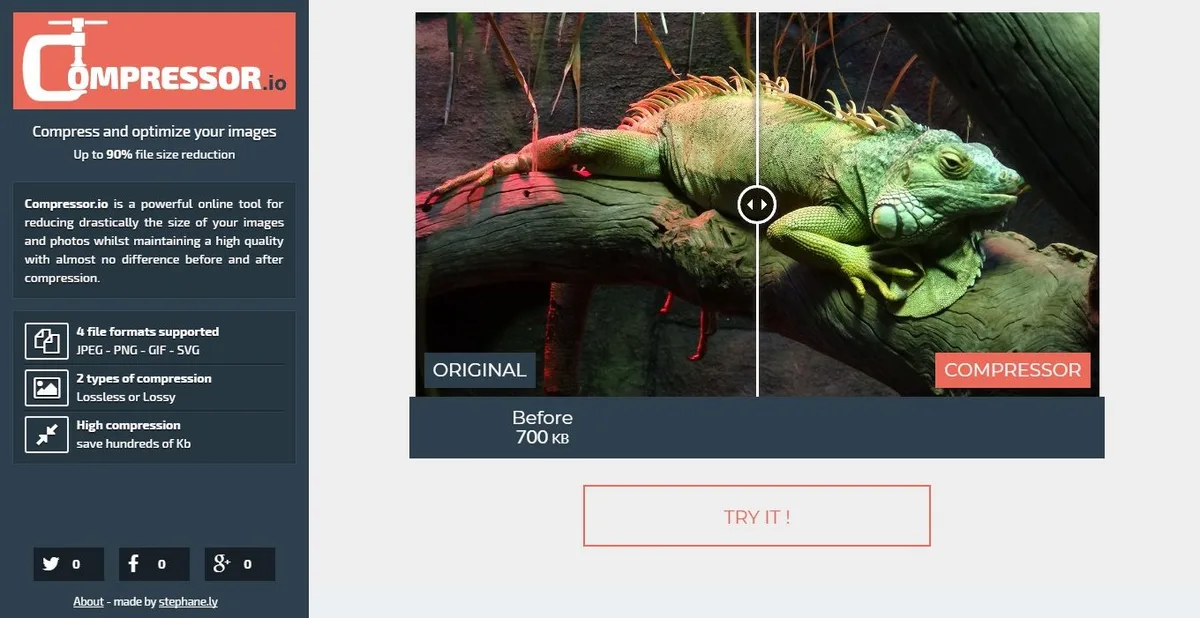
Before comparing seven picks, it helps to understand what image compression tools really do under the hood. At the simplest level, they reduce file size by removing data the human eye won’t miss — colors that repeat, metadata, and pixel detail beyond what a screen can display. There are two main families of compression, and knowing the difference saves a lot of head-scratching.
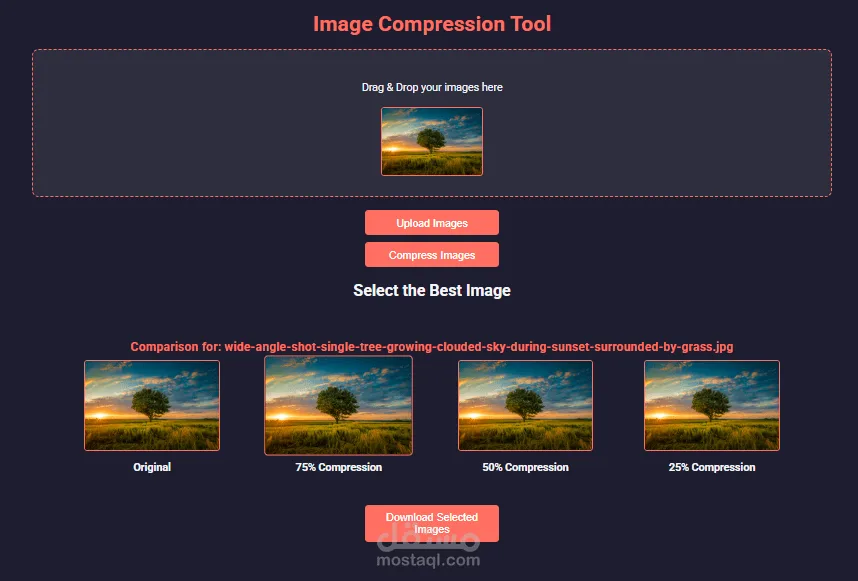
Lossy compression throws away small amounts of image data permanently in exchange for dramatic file-size savings. Formats like JPEG and WebP fall here. Lossless compression preserves every pixel and rebuilds the original file perfectly — the trade-off is modest savings compared to lossy methods. PNG optimization and some WebP and AVIF modes work this way.
Why should you care? Because pairing a file with the wrong compression type is like hiring a mover to transport a piano and handing them a motorcycle. You need the right vehicle for the job.
Pressed images push up Largest Contentful Paint, drag down mobile rankings, and quietly inflate your CDN bill month after month.
A solid image compression tools checklist starts with three questions: What format is best for this image? How much quality loss is truly acceptable? And does the tool fit into my existing workflow, or will it become one more chore I skip?
How We Compared These 7 Image Compression Tools
Fair comparisons need a scoreboard. Each of the seven image compression tools below was evaluated on the same criteria so the final lineup reflects real trade-offs, not marketing noise.
The scoring dimensions: compression power (how small can files get without visible damage), output quality (artifact control, color fidelity), format support (JPEG, PNG, WebP, AVIF, and beyond), workflow fit (bulk processing, API access, plugin availability), and ease of use for non-technical users.
Price wasn’t scored explicitly, but the general note across all picks is competitive direct manufacturer pricing on most paid tiers.
| Tool | Best For | Formats | Interface | Batch Processing |
|---|---|---|---|---|
| Squoosh | Manual control & format testing | JPEG, PNG, WebP, AVIF, JXL | Browser (drag-and-drop) | No (one at a time) |
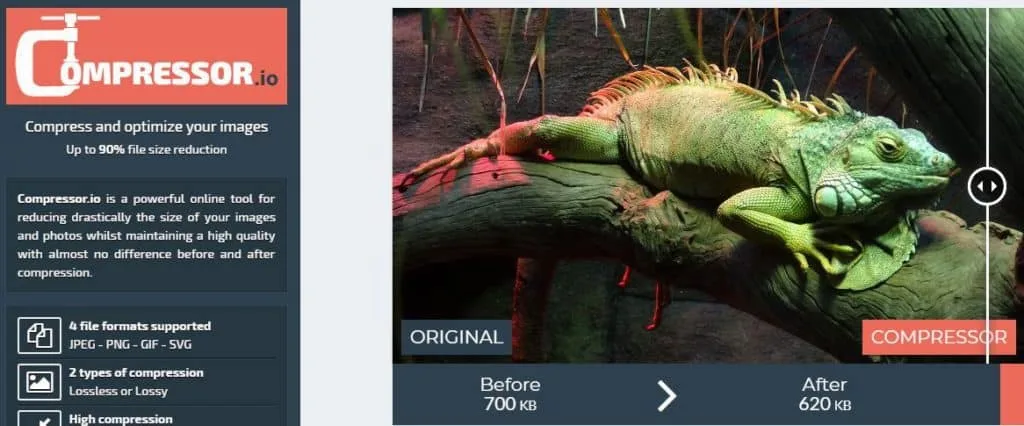
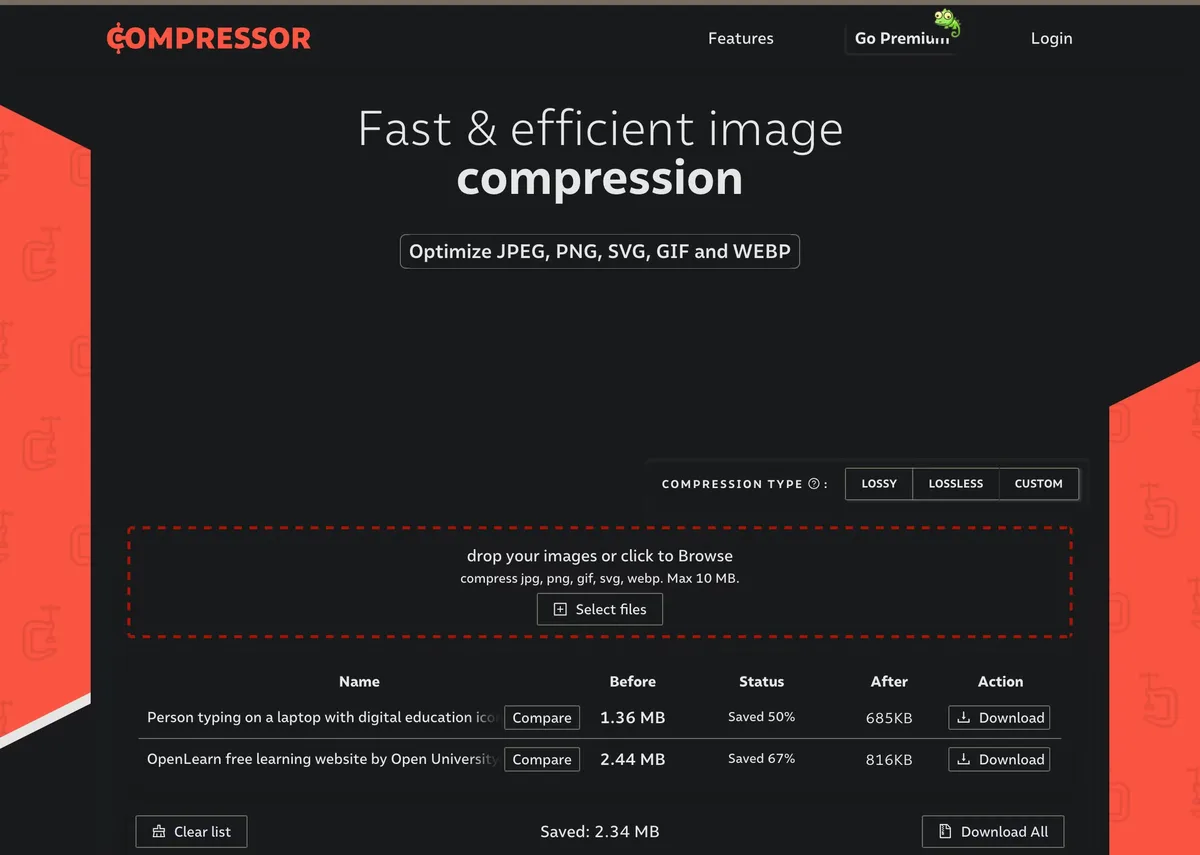
| TinyPNG / TinyJPG | Quick everyday compression | JPEG, PNG, WebP, PDF | Browser + WordPress plugin | Yes (up to 20 files free) |
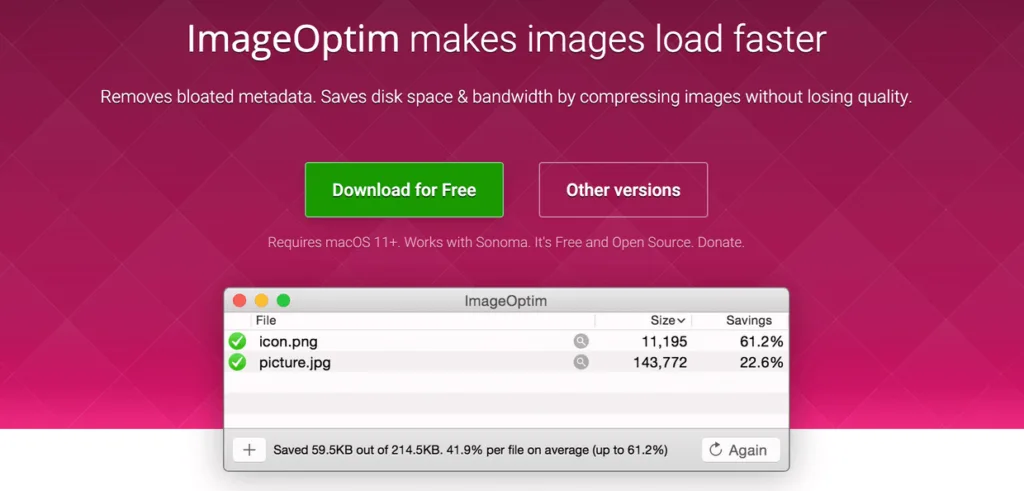
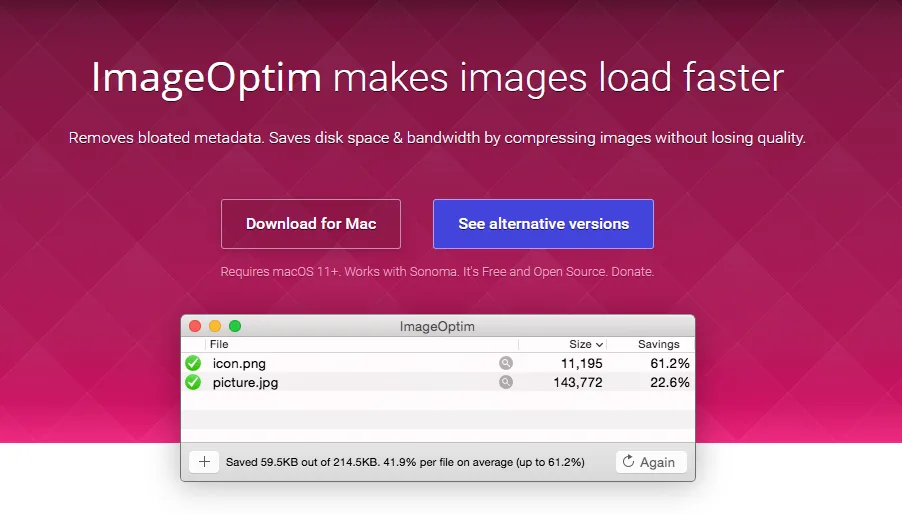
| ImageOptim | Mac users wanting lossless output | Many (via drag-and-drop) | Desktop app (macOS) | Yes |
| ShortPixel | WordPress site owners | JPEG, PNG, GIF, PDF, WebP, AVIF | Plugin + API | Yes |
| Imagify | Managed WordPress sites | JPEG, GIF, PNG, WebP, AVIF | Plugin + API | Yes |
| Cloudinary | Developers and large platforms | Everything, on the fly | API + dashboard | Yes (API-driven) |
| Optimus (CDN-hosted) | Image CDN with automatic WebP/AVIF | JPEG, PNG, GIF, WebP, AVIF | Dashboard + CDN URLs | Yes |
Notice the pattern: free browser tools prioritize simplicity, while paid and API-driven image compression tools win on workflow integration. The comparison below digs into each one so you can pick the right slot for your situation.

The 7 Best Image Compression Tools Compared
Here’s where the promise of the title finally comes home. The following seven picks represent the most reliable image compression tools for typical workflows — from a hobby blogger with a laptop to a platform manager handling thousands of product photos.
Each entry gets the same treatment: what it does best, where it falls short, and how to actually use it in a real publishing routine.
The Seven Picks at a Glance
If you only remember one thing, remember this: the right tool is the one you’ll actually use every time you publish. A “perfect” compressor gathering digital dust helps nobody.
- Squoosh — best for manual precision and format experimentation.
- TinyPNG / TinyJPG — best for speed and simplicity.
- ImageOptim — best for Mac users who want lossless results.
- ShortPixel — best for serious WordPress sites.
- Imagify — best for managed WordPress hosting users.
- Cloudinary — best for developers building at scale.
- Optimus (CDN-hosted) — best for teams that want “set it and forget it.”
The next few sections walk through each one in detail. No filler, no marketing gloss — just what matters when you’re choosing image compression tools for real work.
Option 1: Squoosh — Best for Manual Precision
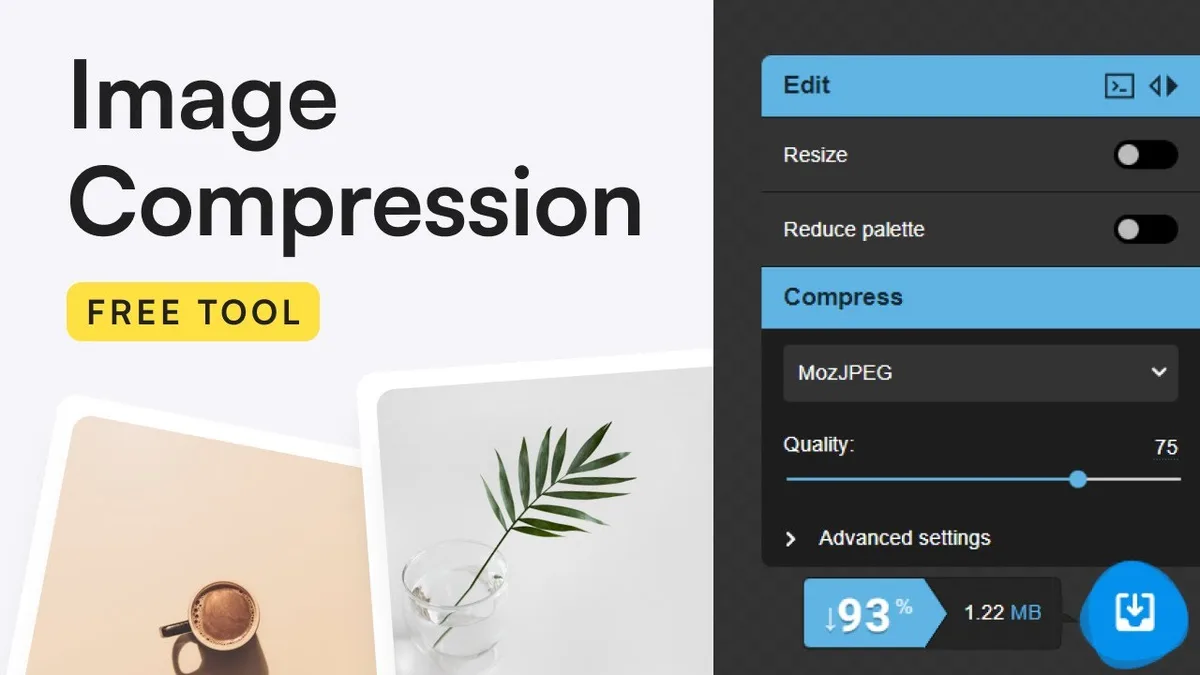
Squoosh is a browser-based tool built by Google’s Chrome team, and it earns the top spot for anyone who wants to see exactly what’s happening to their files. Drag a photo onto the page, choose your output format, and slide the quality dial while the compressed version previews live next to the original.
Why does this matter? Because most image compression tools hide the trade-off. Squoosh shows it. You can flip between JPEG, WebP, AVIF, and JPEG XL side by side and see exactly how each one handles color gradients, text edges, and skin tones.
The output preview panel is a subtle but brilliant feature. It lets you zoom in and compare pixels, which is the kind of granular control professional designers lean on constantly.
Best practice: use Squoosh to test a single hero image before committing to a format. If a 120 KB AVIF matches a 400 KB JPEG visually, batch those conversions elsewhere.
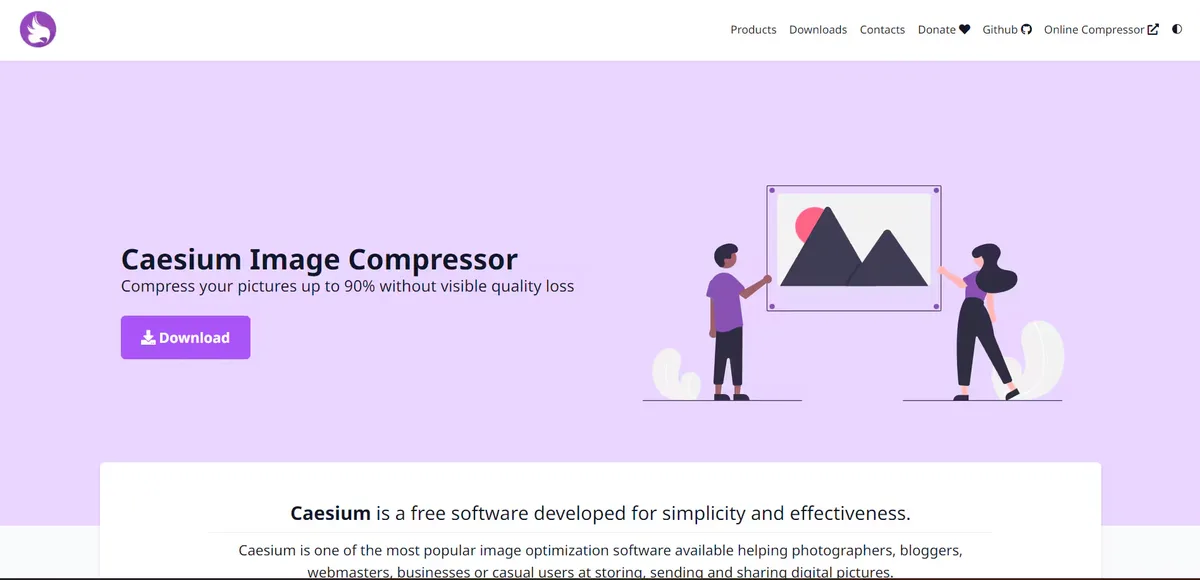
The downside? No batch processing. Uploading 30 images one-by-one gets old fast. Squoosh shines as a “lab bench” for testing, not as a production workflow engine.
Option 2: TinyPNG / TinyJPG — Best for Quick Everyday Compression
TinyPNG and TinyJPG are the espresso shots of the image compression tools lineup — fast, dependable, and satisfying. Upload files to the web interface, wait thirty seconds, download the smaller versions. It really is that simple.
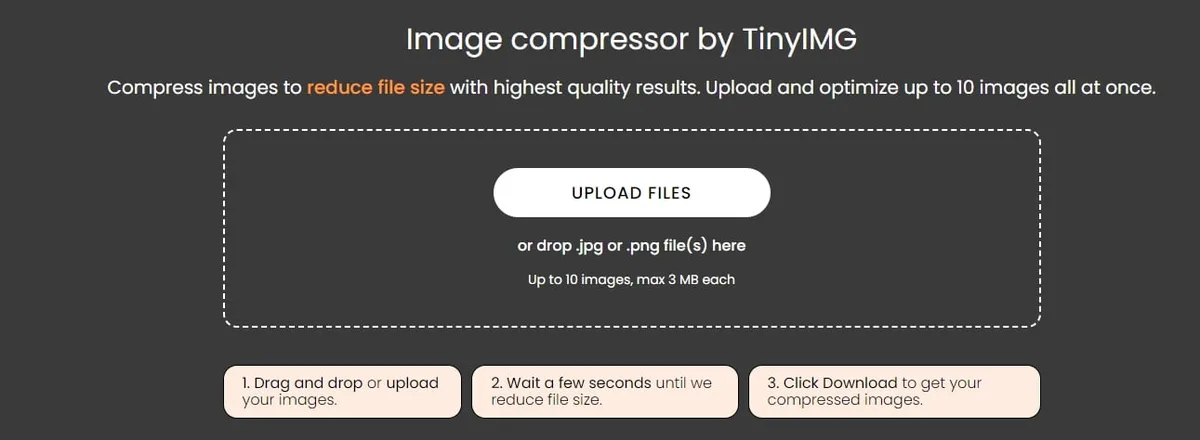
For bloggers who only handle a handful of images per week, this is the tool you want. Free tier allows up to 20 files at a time, which covers most publishing days without a second thought. The WordPress plugin adds a nice upgrade — automatic compression on upload without leaving the dashboard.
Here’s a tip worth writing down: convert PNGs to WebP before uploading to TinyPNG. Refining each detail of your image compression tools strengthens this section. The tool handles both, but WebP frequently produces smaller files even before compression kicks in. Combined savings often hit 50–70% on the average photo.
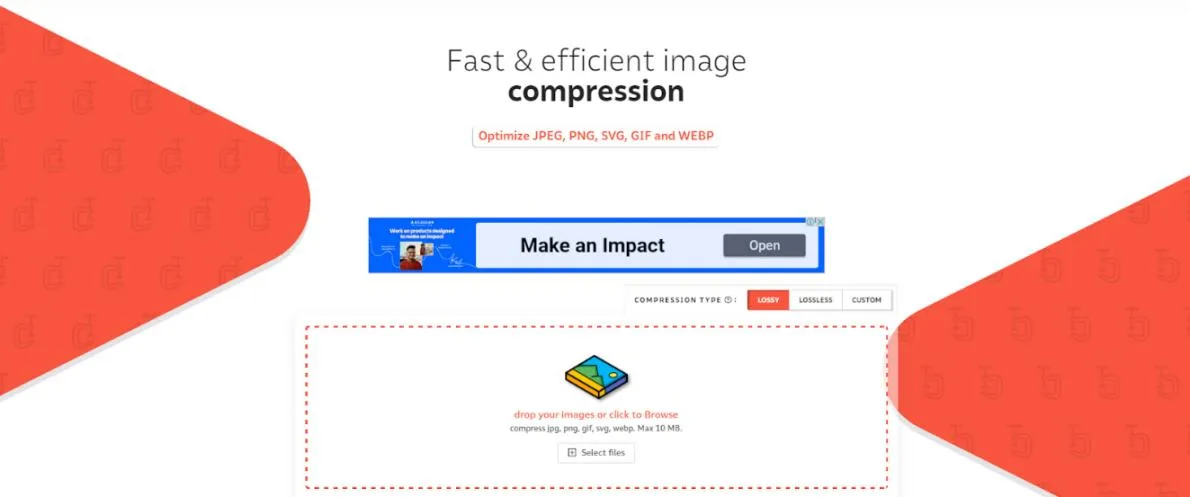
Where does TinyPNG fall short? It’s anon-sophisticated kind of compression. You can’t fine-tune quality levels or test formats. But for sheer speed and reliability, it’s a hard pick to beat.
Best practice: bookmark the site, keep it pinned, and don’t overthink it. Simplicity is the whole appeal.
Option 3: ImageOptim — Best for Mac Users and Lossless Purists
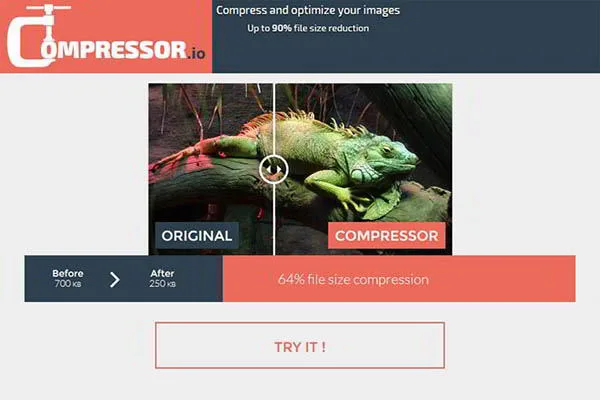
ImageOptim is a Mac-only desktop app, and its philosophy is dead simple: squeeze every unnecessary byte out of an image without touching what you see. It’s lossless compression at its purest.
Drag a folder of photos onto the app window, and it strips metadata, removes duplicate color profiles, and optimizes the encoding in the background. The originals get replaced in place — a genuinely nice touch for people who hate managing “compressed” subfolders.
Because the process is lossless, most files see 10–30% savings, which is more modest than lossy options. But when you absolutely cannot afford quality loss — corporate blog headers, logos, product shots with fine detail — that trade-off is exactly right.
For the record, ImageOptim is my go-to when preparing portfolio pieces for a client with exacting brand standards. Nothing else comes close to that level of “don’t touch my pixels” respect.
One caveat: the app is macOS only. Effective execution in your image compression tools makes a tangible difference. Windows and Linux users will need to look elsewhere or run it via a container.
Option 4: ShortPixel — Best for WordPress Site Owners
ShortPixel is arguably the most popular image compression tools plugin for WordPress, and for good reason. Install it, and it compresses every image in your media library — including the ones already sitting there — with a single click.
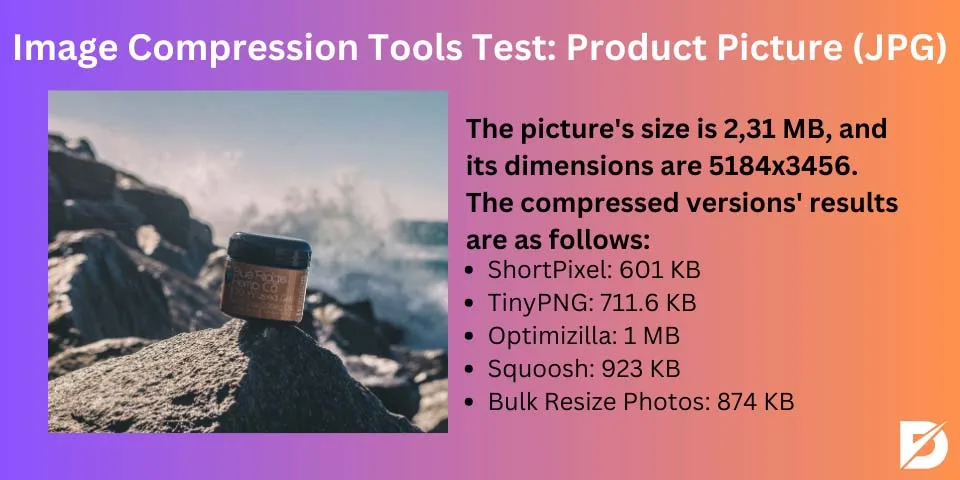
Its three compression levels — lossy, glossy, and lossless — give you direct control over the trade-off. The lossy setting is remarkable in practice: many product photos shrink to 25–35% of their original size without any visible difference on a typical laptop screen or phone.
ShortPixel also delivers JPEG WebP and AVIF conversions on modern browsers. Combined with its CDN-based delivery option, you can serve next-gen formats to users who support them while keeping fallbacks for everyone else.
For a WooCommerce store with a few thousand product images, this is one of the few image compression tools where the phrase “paid for itself in a week” isn’t hyperbole. Page speed gains translate directly to retention and conversion numbers.
Tip for best practices: run a bulk optimize pass first, then set automatic compression on new uploads. The combination means you never touch a JPEG again.
Option 5: Imagify — Best for Managed WordPress Hosting Users
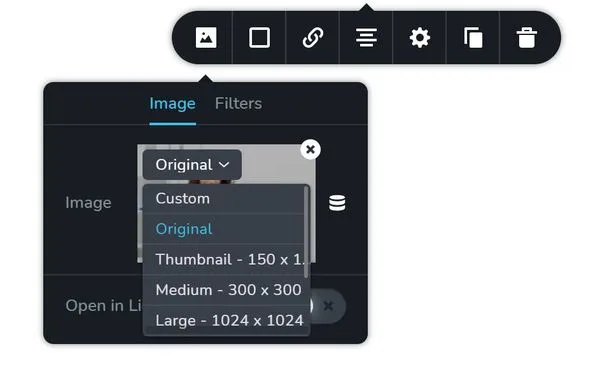
Imagify comes from the team behind WP Rocket, so its WordPress integration has a polish that shows. If you’re on managed hosting — Kinsta, WP Engine, Flywheel — the plugin feels native rather than bolted on.
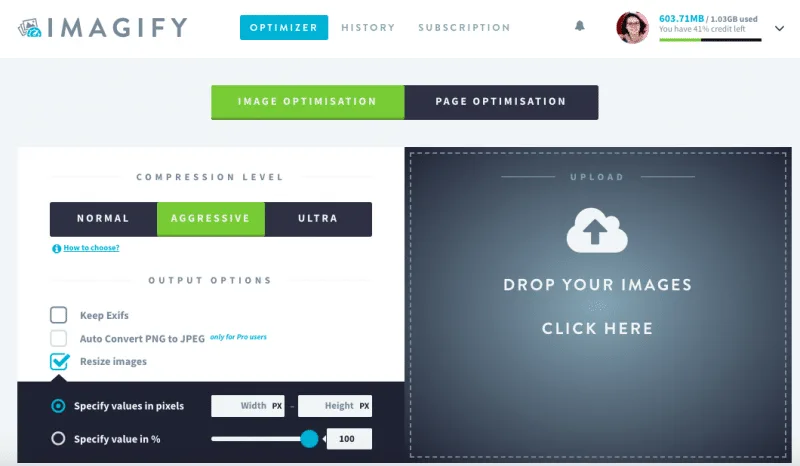
Its standout feature is a smart quality optimizer: instead of guessing, you pick one of three presets (normal, aggressive, ultra), and Imagify adapts compression per file. Photos with smooth gradients get gentler treatment, while flat-graphic images get squeezed harder.
The free tier offers limited monthly quota, but for a small site, that’s usually plenty. Larger sites will need a paid plan, but the direct manufacturer pricing is competitive with comparable image compression tools in the same bracket.
A subtle but useful bonus: Imagify backs up the originals automatically. If a compression pass comes out too ugly (rare, but it happens), you can restore the source file in one click.
Best practice: run Imagify’s bulk optimization right after launching a redesign. Maintaining clarity across your image compression tools remains essential. Old images are usually the worst offenders.
Option 6: Cloudinary — Best for Developers and Large Platforms
Cloudinary operates on a whole different scale from the rest. It’s not just a compressor — it’s a full image and video management platform with APIs, transformation URLs, and on-the-fly format conversion.
Here’s how it works in practice: instead of pre-compressing files before upload, you upload the original once, then let Cloudinary deliver optimized variants on demand via URL parameters. A request like image/upload/q_auto,f_auto/sample.jpg tells Cloudinary to auto-pick quality and format, and the server figures out the best combination for the requesting device.
That’s a level of automation that changes how teams think about images. You stop worrying about “did anyone resize this for mobile?” because the delivery layer handles it every time.

The catch is complexity — and cost at high volume. For a developer building a product, this is the gold standard. For a small blog, it’s using a forklift to move a piano. Cloudinary belongs in the image compression tools conversation specifically for API-driven performance at scale.
For anyone building a headless CMS or a large e-commerce catalog, though, the ability to compress, crop, and convert images in real time is a serious superpower.
Option 7: Optimus (CDN-Hosted) — Best for Hands-Off Automation
Optimus rounds out the seven with a different approach: it wraps image compression into CDN delivery. Instead of manual compression, you point your image URLs at the hosted CDN, and it serves optimized versions automatically.
Everything runs on the fly — lossy or lossless compression, format selection (WebP or AVIF), and smart serving based on browser capability. A user on a modern browser gets AVIF; a fallback user gets the original JPEG. Zero maintenance from your team.
For teams without a dedicated developer, this is the closest thing to “set and forget” among image compression tools. There’s no rewriting workflows, no uploading through a manual interface, and no remembering to compress before you hit publish.
A checklist for teams evaluating the image compression tools setup: confirm your CDN plan supports WebP and AVIF conversion, add cache headers so compressed versions are reused, and verify that legacy browsers still receive a compatible format. Doing those three things upfront saves a lot of confusion later.
The main limitation is that on-the-fly compression adds a small latency cost on first request. But once primed, cached, and served globally, most teams find the trade-off more than worthwhile.
Which of These Image Compression Tools Fits Your Workflow?
Decisions get easier when you match tool to job. A quick decision tree, based on real scenarios:
- Just need to shrink a few photos quickly: TinyPNG.
- Want to compare quality versus format before committing: Squoosh.
- Run a WordPress blog and hate manual work: ShortPixel or Imagify.
- Designer who wants lossless output: ImageOptim.
- Building a product with thousands of images: Cloudinary.
- Want automatic optimization without touching code: Optimus (CDN-hosted).
There’s no single winner, and pretending otherwise would be dishonest. The best image compression tools for your project depend entirely on how many images you handle, who’s doing the handling, and how much you value automation versus precision.
A useful best practice: pick one primary tool and one backup. My reference setup is ShortPixel for automated WordPress uploads plus Squoosh for one-off format experiments. That combination covers 95% of day-to-day needs.
Image Compression Tools Best Practices for Quality and Speed
Choosing the right compressor is only half the job. How you use it separates a fast site from a “we compressed everything but it’s still slow” mess. Here are the tips and best practices worth internalizing.
Resize before compressing. A 4,000-pixel-wide photo compressed down to 300 KB is still wasteful if the CSS only displays it at 800 pixels wide. Crop and resize first, then compress. The savings compound.
Match format to content. Photographs work best in JPEG or WebP. Logos, icons, and screenshots live happily as PNG or SVG. Lossy-compressing a PNG logo produces color banding and ugly halos — a mistake that’s embarrassingly common.
Serve responsive sizes. Compress multiple widths of each image (400, 800, 1200, 1600 pixels) and use the srcset attribute to let browsers choose. Structuring your image compression tools around proven patterns ensures impact. Mobile users download 60–70% less data with this single adjustment.
Set a compression quality target. Most image compression tools default to quality level 75–85, which is where practical savings balance visual fidelity. Going below 60 starts to show artifacts on hero images.
Automate or fail. Manual compression slips the moment you’re in a hurry. Route uploads through a plugin or CDN and let the automation do the heavy lifting.
Test with real users. Load a page on a mobile connection in the field, not just on office Wi-Fi. That’s where file size actually bites.
The image compression tools checklist above is worth printing and taping to a monitor. Each item prevents a specific, avoidable mistake.
Common Image Compression Tools Mistakes to Avoid
Even experienced teams slip up. These mistakes show up again and again in audits, and they’re all fixable.
Compressing images twice. Re-compressing an already-compressed JPEG produces artifacts on top of artifacts. Keep the original file, compress from the source — never from the web-ready version.
Blindly converting to WebP. WebP is excellent, but not for every image. Large flat gradients sometimes compress better in JPEG. Test a sample before standardizing.
Ignoring metadata. EXIF data and color profiles can add 50–100 KB to a file. Most image compression tools strip this automatically, but if your workflow bypasses them, you’re carrying dead weight.
Over-compressing for perceived gains. Chasing a 90% reduction often produces pixelated clouds and crunchy skin tones. The last 10% of savings usually isn’t worth the visual damage.
Neglecting the originals. Every serious workflow keeps an uncompressed backup. Applying these principles to your image compression tools yields measurable results. Disk space is cheap; re-shooting a product photo isn’t.
These mistakes are the reason many teams think they’ve “done image optimization” but still serve bloated pages. Awareness is the first fix.
FAQ: Image Compression Tools Questions Answered
Here is an in-depth breakdown of key considerations regarding this section:
What is the Best Image Compression Tool Overall?
There’s no universal best — it depends on your workflow. TinyPNG wins on simplicity, ShortPixel wins on WordPress automation, Squoosh wins on precision, and Cloudinary wins on scale. Match the tool to the job and you’ll be happy with any of these seven.
Do Image Compression Tools Reduce Image Quality?
The lossy ones do, but often imperceptibly. At quality 75–85, most photos are visually identical to the original on typical screens. Lossless tools like ImageOptim preserve quality completely with more modest file-size savings.
Is It Bad to Use Multiple Image Compression Tools?
Using different tools for different jobs is fine. Stacking compression passes on the same file is not — each pass adds artifacts. Compress once from the original, then stop.
What Image Format is Best for Web Compression?
AVIF and WebP generally offer the best size-quality ratio on modern browsers. JPEG remains a safe fallback. Serve AVIF or WebP via picture tags or CDN negotiation, and keep JPEG as a backup for older clients.
How Much Can Image Compression Tools Actually Save?
Sources vary, but realistic numbers on typical photographs run 40–75% with lossy compression and 10–30% with lossless. On a content-heavy site, that alone can cut overall page weight nearly in half.
Are Free Image Compression Tools Good Enough?
For blogs and small sites, absolutely. TinyPNG, Squoosh, and ImageOptim are all free and genuinely excellent. Paid image compression tools add workflow automation, batch processing, and CDN delivery that justify themselves at scale.
Do Image Compression Tools Affect SEO?
Indirectly, yes — heavily. Smaller images speed up page load, which improves Core Web Vitals scores like LCP and CLS. Google factors these into ranking signals. Compression itself isn’t a direct ranking factor, but the speed gains are.
Final Thoughts on Choosing Image Compression Tools
Comparing image compression tools ultimately comes back to a simple truth: the best one is the one you actually use without thinking about it.
Whether that’s Squoosh at your elbow for testing, ShortPixel silently working in the background, or Cloudinary doing the heavy lifting across an entire platform — pick the one that fits how you already work.
Start with a quick audit. Open your homepage, run it through a page speed tool, and look at the image payload. If images make up more than 40% of total weight, you have room to improve. Pick a tool from this comparison, run a compression pass, and watch the numbers drop.
The seven-way comparison won’t stay the only word forever — formats evolve, tools merge, and new options appear. But the core principles of this image compression tools guide will hold: resize first, choose your format deliberately, automate when possible, and always keep the originals.
Now go shrink something. Your bandwidth bill will thank you, and so will your readers on a slow mobile connection.
For verified reference and background research, consult the authoritative informational resource on this topic.