Google Cache Check: Simple Guide + 7 Best Practices
A google cache check is the fastest way to see the copy of a page that Google stored the last time it crawled it, and it takes about ten seconds once you know where to look.
If you have ever stared at a page that loads fine for you but looks broken in search results, this is the first button you press. Below you will find a plain-English walkthrough of how the cached copy works, how to read it, and seven habits that keep the whole process clean and useful.
I have run the google cache check check hundreds of times across client sites, staging servers, and single-page apps that behaved beautifully in dev and miserably in production. The cached view caught more problems than any dashboard alert ever did. So think of this as the field notes version, not a theory paper.
What a Google Cache Check Actually Shows You
When Googlebot visits a URL, it saves a snapshot of the rendered HTML and stores it alongside the indexed record for that page. That snapshot is what a google cache check surfaces. The cached page is not live.
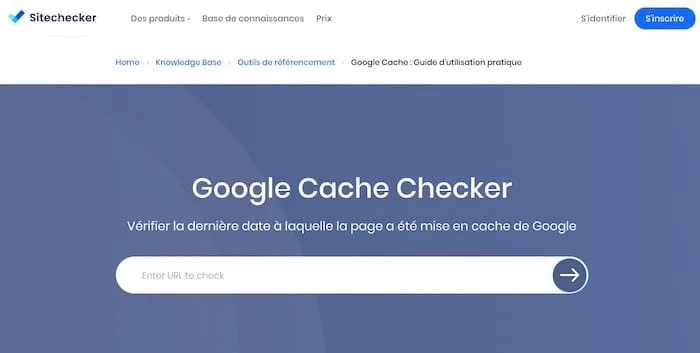
It is a photograph of an earlier state, and the timestamp at the top tells you exactly how old that photograph is.
This distinction matters more than most people realize. The cache is a diagnostic artifact, not a serving layer.
Google removed the visible “Cached” link from most search results, but the underlying cached copy still exists and can be reached through other entry points, which is why the technique remains relevant for SEO work, developer debugging, and competitive research.
How the Cached Copy Differs from the Live Page
A cached version usually strips scripts, pulls external assets from Google’s own servers, and renders with a different user agent profile. That means a page relying on heavy client-side JavaScript may look empty in the cache even though it works in a browser. It is a rough indicator, not a perfect mirror.
I have seen this trip up teams building React or Next.js sites. The cache shows a skeleton, everyone panics, and then it turns out the content was rendered correctly but the snapshot captured a state before hydration. Read the cached view as one data point among several, and cross-check with a fetch-and-render tool before drawing conclusions.
Why the Timestamp is the Most Useful Field
The date label at the top of the cached page tells the google cache check when Google last crawled and stored that URL. If it is days old on a page you publish daily, crawling is being throttled or blocked. If it is months old on a stable product page, that is perfectly normal.
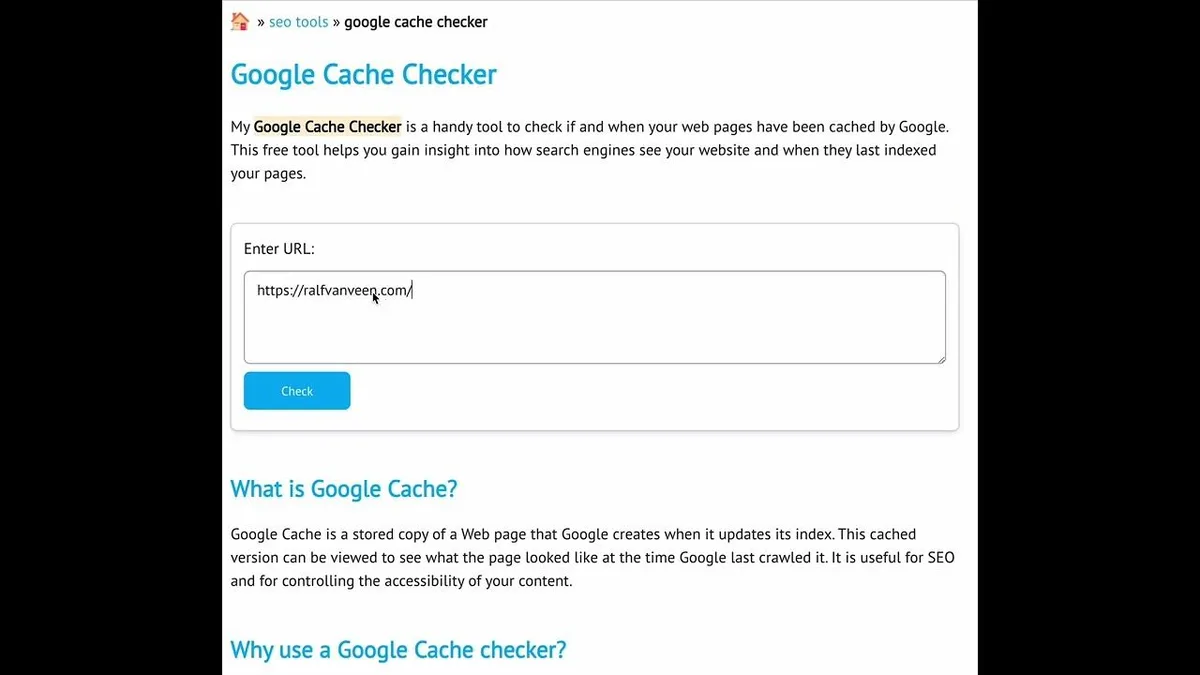
Treat that timestamp as a crawl-budget signal. It answers the question “is Google still paying attention to this page?” faster than anything in Search Console. When the date freezes on pages that genuinely change, you have a technical problem worth chasing.
How to Run a Google Cache Check in Three Ways
The google cache check is no single official button anymore, so practitioners rely on a few reliable routes. Each one has trade-offs, and knowing which to use saves time when you are debugging under pressure.
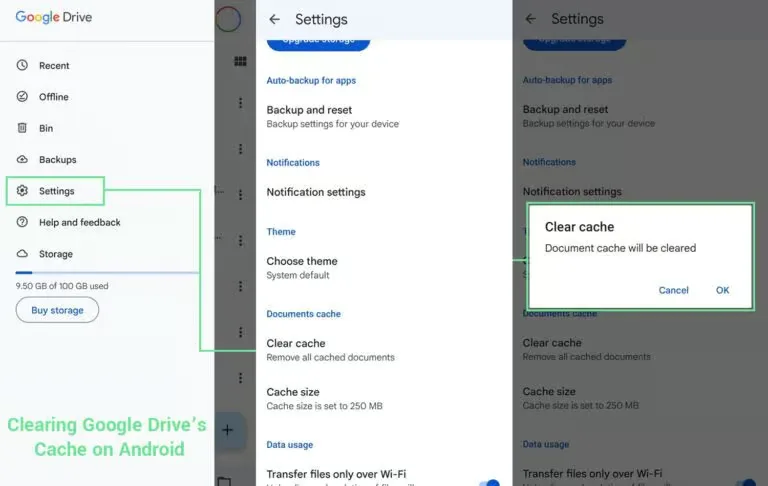
The simplest approach is a direct URL query using Google’s cache operator, though its availability has become inconsistent. Effective execution in your google cache check makes a tangible difference. The second is a third-party cache viewer that proxies the request for you. The third is checking through archived snapshots when Google’s own copy is unavailable.
- Direct operator query: Enter the cache operator followed by the target URL in the search bar. If Google still serves the cached view for that page, you land on the stored snapshot with its timestamp. Fast, but reliability varies by region and page type.
- Cache viewer tools: Services like the Wayback Machine and dedicated cache checkers pull the most recent stored copy. Useful when the operator returns nothing, and often the only option for older pages.
- Search Console URL Inspection: While it does not show the cached HTML, it reveals last crawl date, render status, and indexing state. Pair it with a cached view to get the full picture of what Google saw and when.
In practice, I start with the operator query, fall back to a viewer within seconds if it fails, and cross-reference Search Console for crawl and render data. Three tools, one minute, and you know where the page stands.
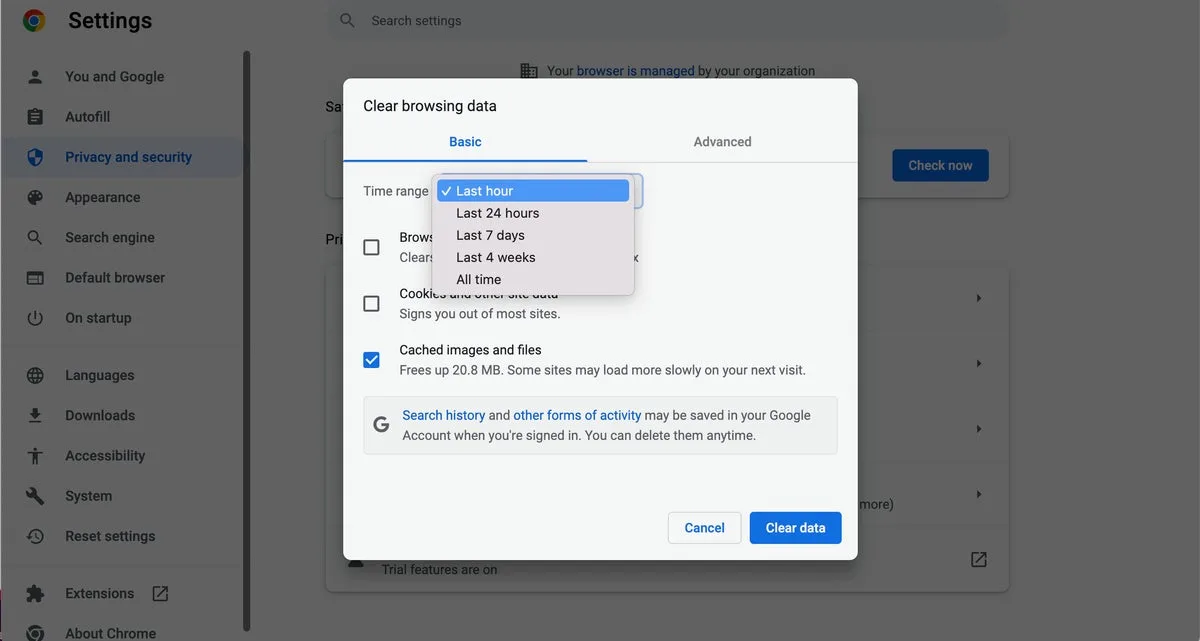
Reading the Cached Page Like a Diagnostician
Once the snapshot loads, scan in a fixed order: title tag, meta description, H1, then the first two hundred words of body copy. If any of those differ from what you published, you have found either a caching lag or an indexing anomaly.
Next, look for assets. Maintaining clarity across your google cache check remains essential. Missing CSS and broken images in the cache often signal blocked resources in robots.txt or server-level restrictions on Google’s crawler. That is a genuine SEO issue, not just a cosmetic one, because blocked rendering assets can hurt how Google evaluates the page.
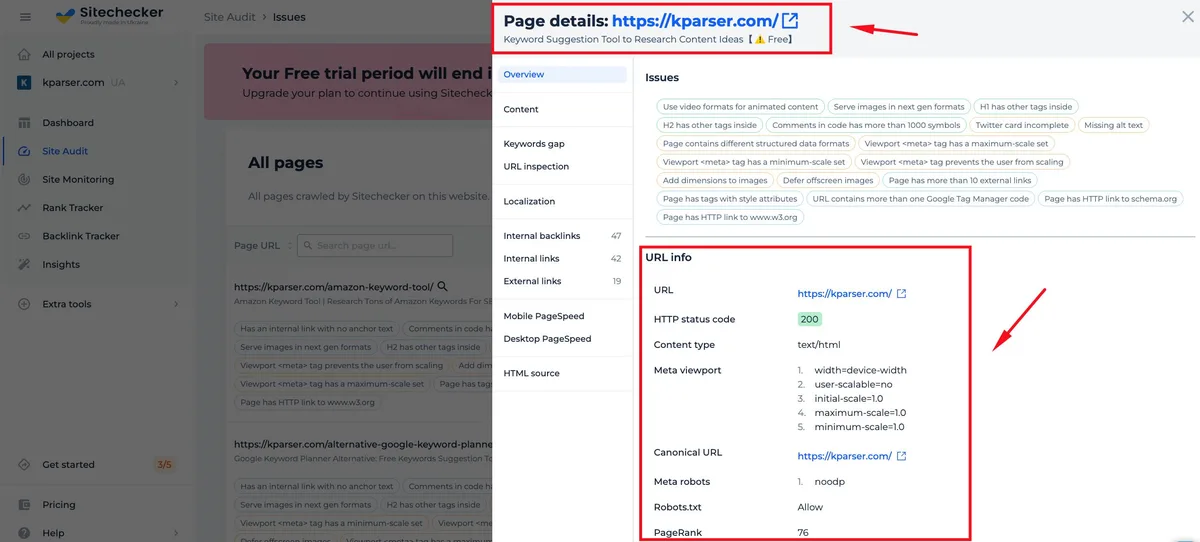
Building a Google Cache Check Checklist You Can Repeat
A repeatable process beats a heroic one-off investigation. Whenever I audit a site, I open a simple Anthropic cache check checklist that covers five items: timestamp freshness, title and meta accuracy, rendered body copy, asset loading, and internal link count in the snapshot. Each item takes thirty seconds.
The magic is in the comparison. You are not just looking at the cache; you are comparing it against the live page and against the index. Three views, one verdict.
| Checklist Item | What to Compare | Red Flag |
|---|---|---|
| Crawl timestamp | Cached date vs. Last content edit | Frozen date on a page you update weekly |
| Title and meta | Cached head vs. Current source | Stale title, missing description |
| Body rendering | Cached text vs. Published copy | Empty or truncated content area |
| Assets | Images and CSS in cache | Broken layout, missing media |
| Links | Internal links in snapshot | Navigation or footer missing |
Run the google cache check checklist after every major deployment and after any CMS or theme migration. It takes five minutes and routinely catches issues that monitoring tools miss entirely.
Google Cache Check Best Practices: Seven Habits That Pay Off
These seven practices come from the patterns I keep repeating across audits. They are not abstract principles. Each one is a concrete habit you can adopt this week, and together they form the core of any solid google cache check best practices routine.
Each habit below includes why it matters, a worked example, and how to apply it without adding overhead to your workflow.
1. Run the Check Right After Every Deployment
Deployment is the single most common cause of indexing surprises. A theme update, a plugin change, or a CDN configuration tweak can silently alter what Googlebot sees. Making a google cache check the final step of your release checklist catches these issues while the change is still fresh in your mind.
I worked with a publisher whose staging environment injected a noindex header into the production template after a hotfix. Refining each detail of your google cache check strengthens this section. The cached view showed the header immediately. Without the check, that would have quietly deindexed a dozen high-traffic articles before anyone noticed traffic dropping.
2. Separate Crawl Lags from Real Indexing Failures
Not every stale cache is a problem. Structuring your google cache check around proven patterns ensures impact. Google recrawls at different intervals depending on page importance, update frequency, and site authority. A product page cached ten days ago might be perfectly healthy. A news article cached ten days ago is a red alert.
Set expectations by page type. Then, when the timestamp lags beyond that expectation, escalate to Search Console for crawl and render diagnostics. This single habit prevents most wasted investigations.
3. Compare the Cache Against the SERP Snippet
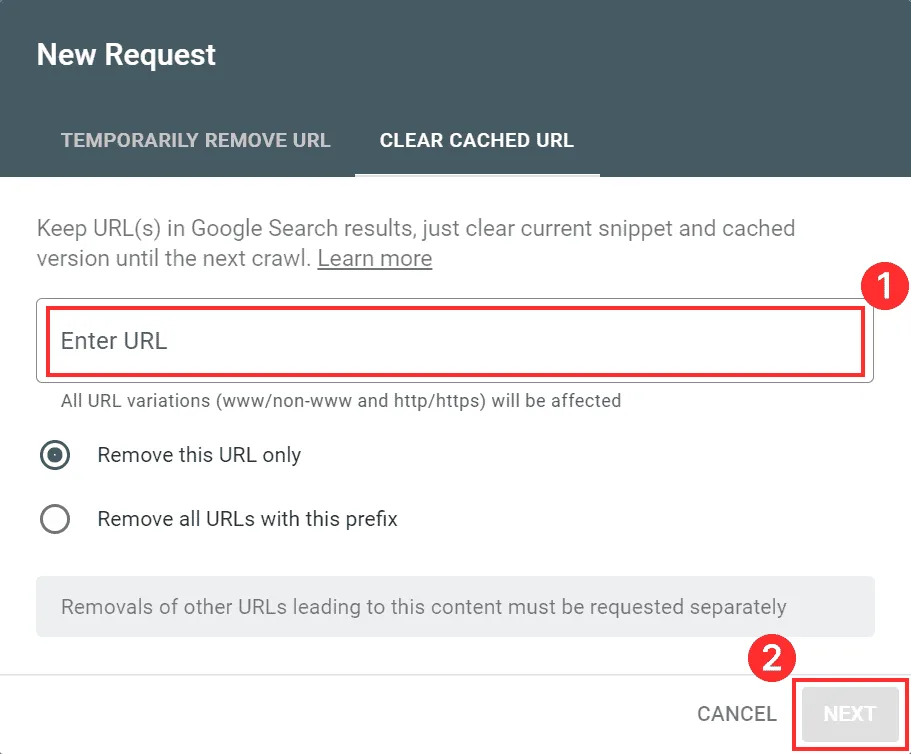
The snippet Google displays in results should match what the cached view contains. When they diverge, the index has drifted from the visible source. Sometimes this means a stale title or an outdated meta description is still being shown to searchers.
Fixing the discrepancy usually means updating the page content and requesting reindexing. Confirm the fix with another google cache check a few days later, and check that the snippet has refreshed as well.
4. Use the Cache to Spot Rendering Problems in JavaScript Apps
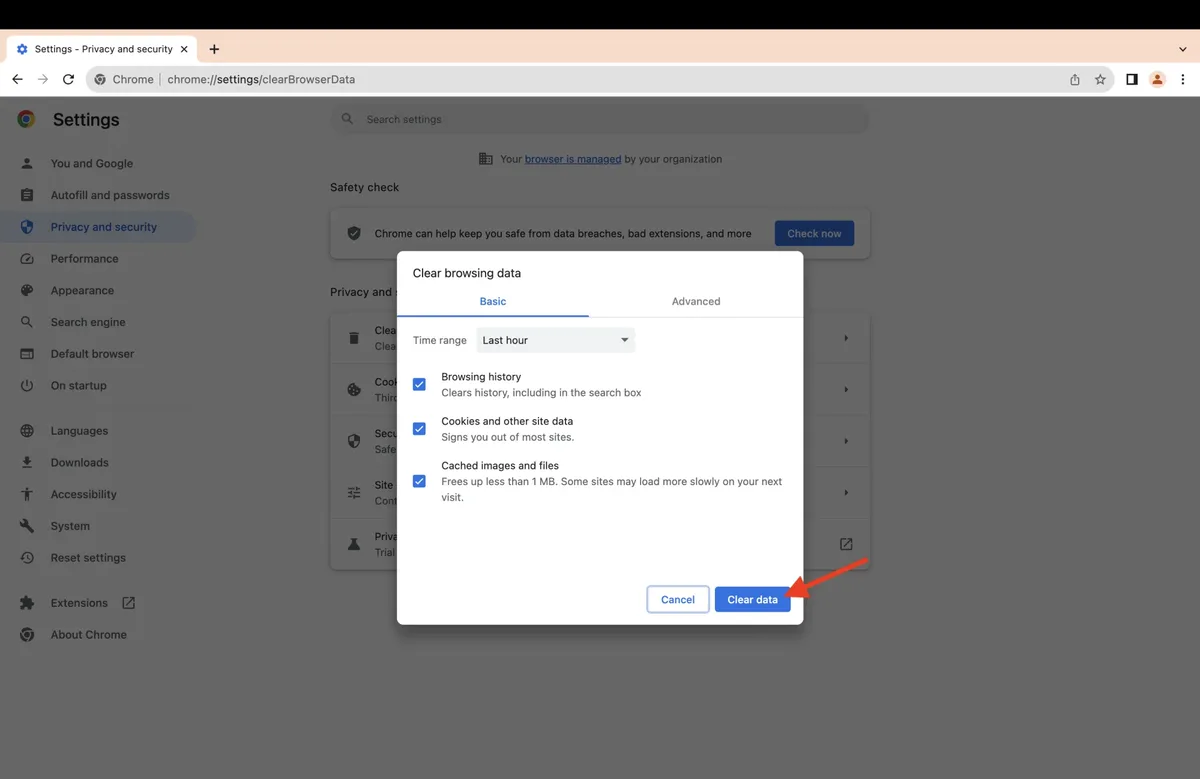
Single-page applications and client-side rendered sites are the most vulnerable to rendering gaps. Applying these principles to your google cache check yields measurable results. The cached snapshot represents what Google could parse without executing every script, or after a limited render budget.
When the cache shows an empty shell, test with Google’s URL Inspection live test and a mobile-friendly rendering check. If the live test shows full content but the cache does not, the page needs server-side rendering or prerendering. This is where a google cache check earns its keep for engineering teams.
5. Watch for Blocked Assets in the Snapshot
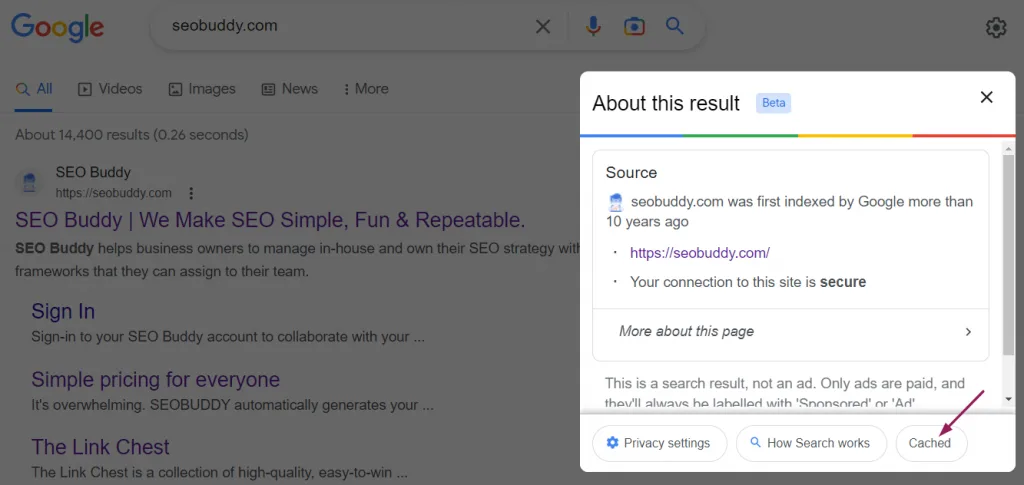
If the cached view loads without styling, fonts, or images, consult robots.txt for blocked paths. Google explicitly recommends allowing CSS and JavaScript files so it can render pages fully. A simple google cache check tip is to grab a screenshot of the cached view and compare it against a fresh browser render.
The visual diff tells you faster than any log whether Google’s render pipeline can access your assets. Fix the block, then re-verify with another cache lookup after the next crawl.
6. Keep a Log of Cached Timestamps per Section
Tracking the cached date for a sample of URLs across each site section reveals crawl-budget distribution. Homepage and category pages usually get frequent crawls. Deep article pages may be weeks behind.

A shared spreadsheet with URL, section, cached date, and last content edit gives the google cache check a trend line. When a whole section starts lagging, you know to look at internal linking, sitemap freshness, or server response times. google cache check guide is what decides the outcome, and this habit turns isolated checks into a monitoring system.
7. Refresh the Cache by Requesting Indexing After Content Updates
After significant edits, request indexing through Search Console and then verify with a google cache check a few days later. The cache should update once Google recrawls and reindexes the page. If it does not, the page has a deeper problem, such as crawl blocks, canonical conflicts, or duplicate content.
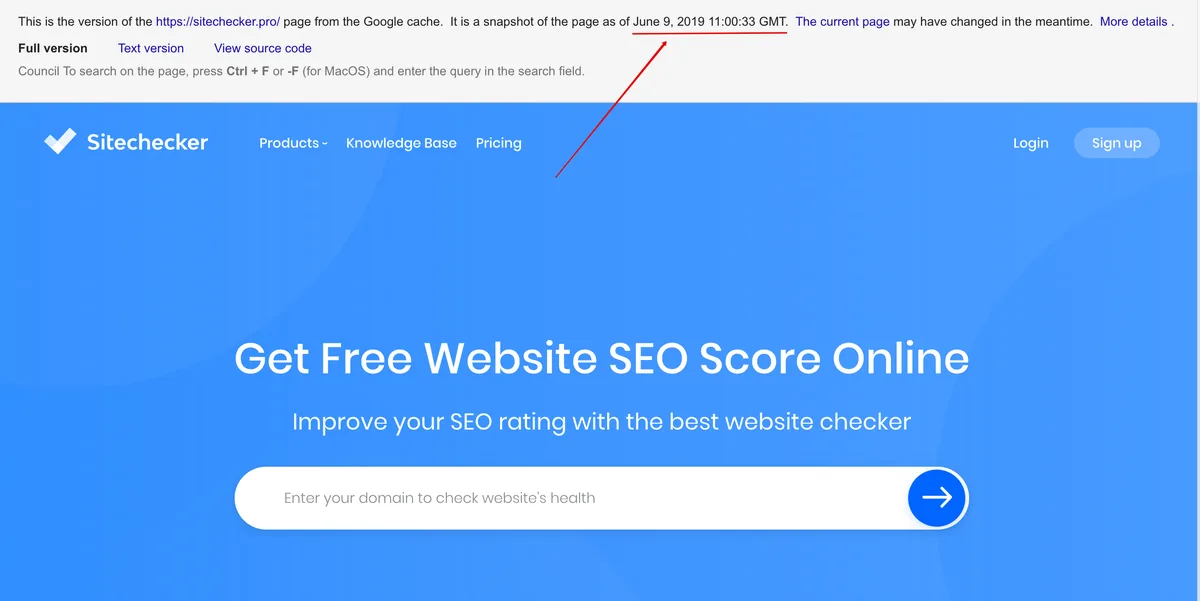
I keep a rule of thumb: if the cached date has not moved within two recrawl cycles, escalate to a technical investigation. Persistent staleness almost always has a mechanical cause, not a mysterious one.
Common Mistakes That Undermine a Google Cache Check
Even experienced SEOs slip on a few recurring errors. The most common is treating the cached copy as the live page. It is not, and acting on that assumption leads to misdiagnosis of problems that do not exist.
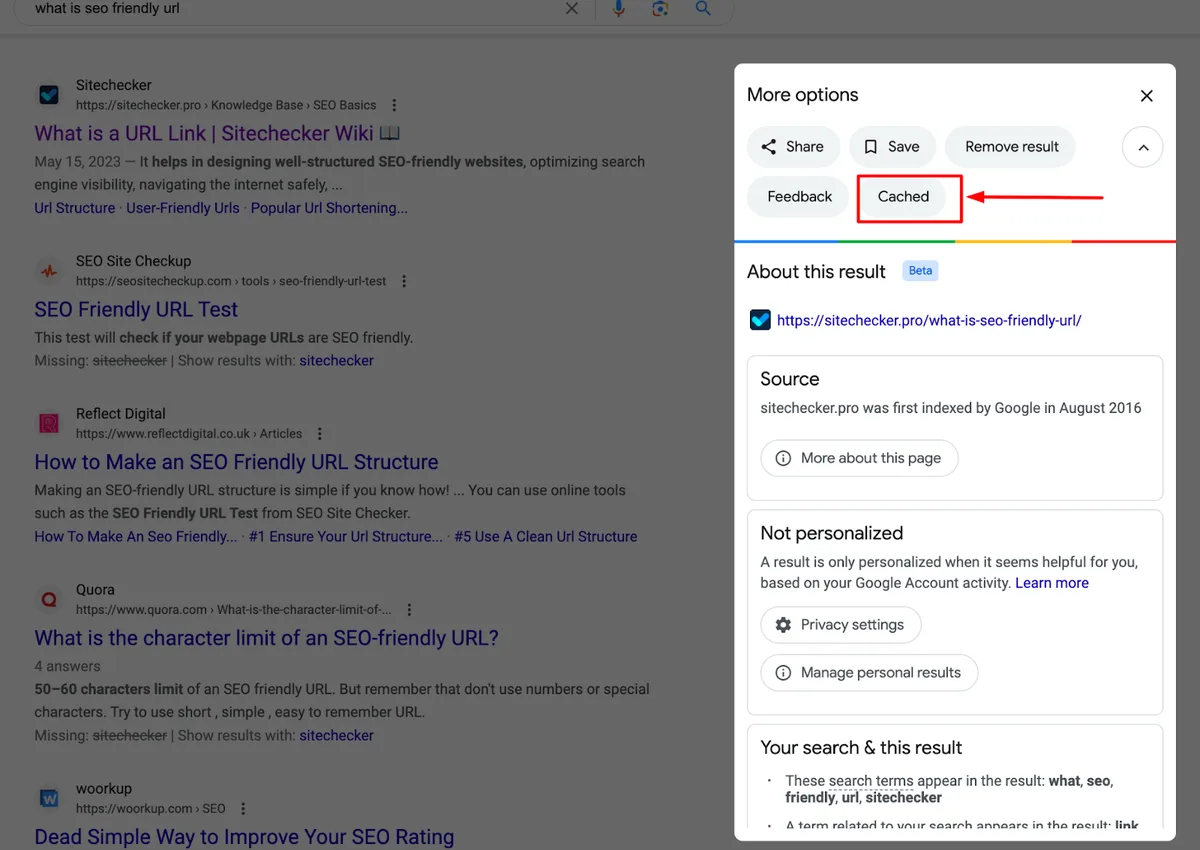
The second most common is confusing a stale cache with a deindexed page. Developing your google cache check with precision highlights key strengths. They look similar in symptoms but require completely different fixes. Check the index status directly before drawing conclusions.
Mistake One: Assuming the Cache is Always Available
Google’s cache operator does not return a result for every URL. Some pages have caching disabled, others are behind technical restrictions, and the feature has been scaled back in some markets. When the direct query fails, use a third-party viewer or archival snapshot instead.
This is not a failure of the technique. It is a reminder that caching is a convenience, not a guarantee. Build your process around multiple entry points so a single unavailable path does not stall the audit.
Mistake Two: Ignoring the Difference Between Cached and Indexed
A page can be cached and still not be indexed, or indexed and served from an older cache snapshot. Clear alignment with your google cache check builds confidence from the start. These are separate states. Use Search Console to confirm indexing status, and use the cached view to see rendering and crawl timing.
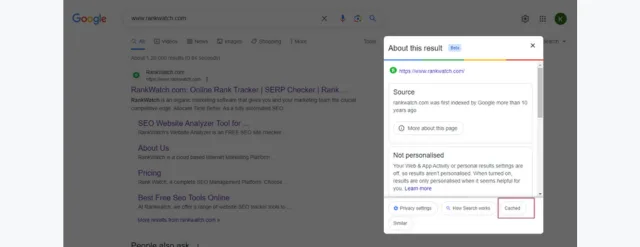
The two views complement each other. Relying on either alone will give you an incomplete picture, and it will lead to fixes applied to the wrong layer of the system.
Google Cache Check Tips for Competitive Research
The technique is not only for your own site. A competitor’s cached view shows their title tags, meta descriptions, heading structure, and content depth at a specific point in time. That snapshot is more reliable than guessing based on the live page, which may have changed after the last crawl.
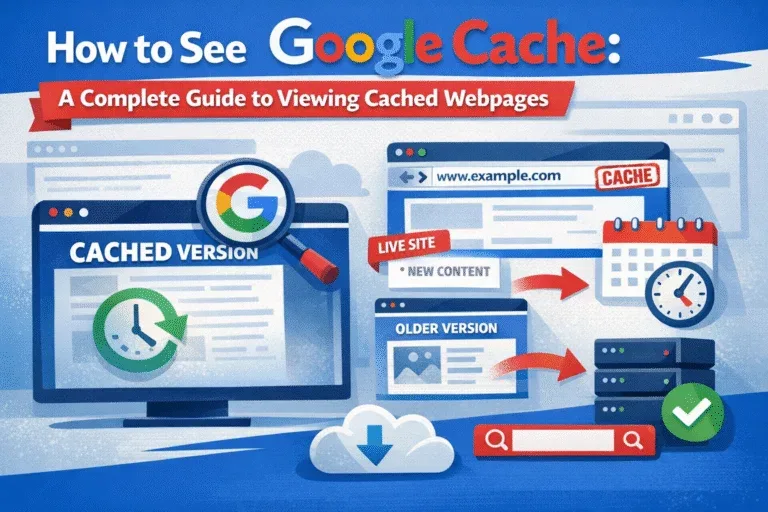
Two or three google cache check tips here will save you hours. First, compare the cached title against the one you see in a live browser to detect recent optimizations. Second, examine internal links in the snapshot to find pages they are boosting and pages they are retiring.
Third, review the cached copy of their category pages to see what internal linking pattern drives their topical authority. Integrating google cache check into your workflow produces consistent quality. Their cache tells you what Google was actually shown, not what they intended to publish.
Detecting Recent Changes Through the Cache
By comparing cache dates across a competitor’s key URLs, you can estimate their publishing cadence and update frequency. Pages updated weekly show recent cache timestamps. Pages left untouched show older ones. This intel informs how often you should refresh your own content to stay competitive.
Take notes on what changed between two cached snapshots a few months apart. Title rewrites, new sections, and removed links all leave traces in the cached record. Those signals are honest, unlike third-party estimates that guess at traffic and ranking behavior.
Frequently Asked Questions About Google Cache Check
Here is an in-depth breakdown of key considerations regarding Frequently Asked Questions About Google Cache Check:
Is the Google Cache Still Available?
Yes, the cached copy still exists and can be accessed through direct queries, cache viewers, and archival services. Targeted refinements to your google cache check streamline the entire review. The visible link in search results has been removed in many cases, but the caching system continues to run for diagnostic purposes.
Why Does My Cached Page Look Different from My Live Page?
The cache renders with a different user agent and may not execute all scripts. It also captures a snapshot from the most recent crawl. Differences in design, layout, or missing assets usually reflect those conditions rather than a site error.
How Often Does Google Refresh the Cached Copy?
There is no fixed schedule. Refresh frequency depends on crawl rate, page importance, and how often the content changes. Popular and frequently updated pages can be recrawled daily, while older or low-traffic pages may wait weeks.
Can a Cached Page Rank in Search Results?
No. The cached view is not a ranking page. It is a diagnostic lens into what Google’s crawler saw and stored. Rankings come from the indexed version of the URL, which is updated after each crawl and reindexing cycle.
What Should I Do if My Cache is Outdated for Weeks?
Check for crawl blocks, canonical issues, and slow server responses. Request reindexing in Search Console. If the timestamp still does not move after two recrawl cycles, escalate to a technical crawl audit and inspect your sitemap and internal linking.
Frequently Missed Signals in a Google Cache Check
Beyond the obvious title and content checks, a careful google cache check reveals signals most teams overlook. The cached snapshot preserves the exact version of the page Google indexed, which makes it a forensic tool as much as a diagnostic one.
The first overlooked signal is header and footer consistency. If the navigation disappears in the cache, Google may be seeing a different page than you expect. This happens when template fragments are loaded by blocked scripts.
The second is structured data. When the schema markup matches the cached copy but not the live page, you have a deployment issue. Check the raw HTML in the cache against your markup validator.
The third is relative versus absolute links. Cached pages sometimes expose link structure problems that are invisible in a browser, especially on pages with heavy JavaScript routing.
Using the Cache to Audit Structured Data
Structured data errors are often invisible until rich results disappear. Inspecting the markup in a cached copy confirms whether Google indexed the JSON-LD you intended. If the structured data is absent from the cache but present in the source, the markup is likely being injected after the crawl, which Google may not capture.
Fix this by shipping structured data in the initial HTML response. Then confirm via another cache check and the rich results test. This pattern shows up most often on e-commerce templates where product schema is rendered client-side.
Automating Your Google Cache Check Workflow
Manual checks do not scale across hundreds of URLs. A light automation layer turns the cache check into a monitoring system. Tools like Screaming Frog, Sitebulb, or a custom Python script can query cache viewers and log the results for a sample of pages.
The goal is not perfection. A weekly sample of twenty to fifty URLs across site sections is enough to catch systemic issues early. Combine that with Search Console crawl statistics for a full picture.
For larger sites, schedule the sample to run after deployments and on a fixed weekly cadence. Alert on stale timestamps and rendering failures. This closes the loop between deployment and indexing verification.
Building a Lightweight Monitoring Script
A basic script that fetches a fixed list of URLs, checks a cache viewer for the timestamp, and logs results to a spreadsheet covers most needs. Add a simple threshold rule: flag any URL whose cached date is older than two expected crawl intervals.
Save the historical data. Over a few months, the trend line reveals crawl patterns and highlights sections that need more internal links or better sitemap signals. The google cache check becomes a passive monitoring input rather than a reactive investigation.
Why the Google Cache Check Still Belongs in Your Toolkit
Search tools come and go, but the underlying mechanics of crawler access, rendering, and indexing remain stable. The cached copy is a direct view into that pipeline. Whenever you need to know what Google actually saw, a google cache check answers the question in seconds.
For teams managing technical SEO, the habit of checking the cache after deployments, migrations, and content updates is one of the highest-return routines available. It sits at the intersection of SEO, engineering, and content quality, and it needs no paid tooling to start.
The seven practices above form a complete, repeatable google cache check best practices workflow: run checks after deployments, distinguish lag from failure, compare against the SERP snippet, watch for rendering gaps, monitor blocked assets, log timestamps, and request reindexing when needed. Apply them consistently and the technique becomes second nature.
For verified reference and background research, consult the authoritative informational resource on this topic.